When to Change Your Home Locks
When to Change Your Home Locks
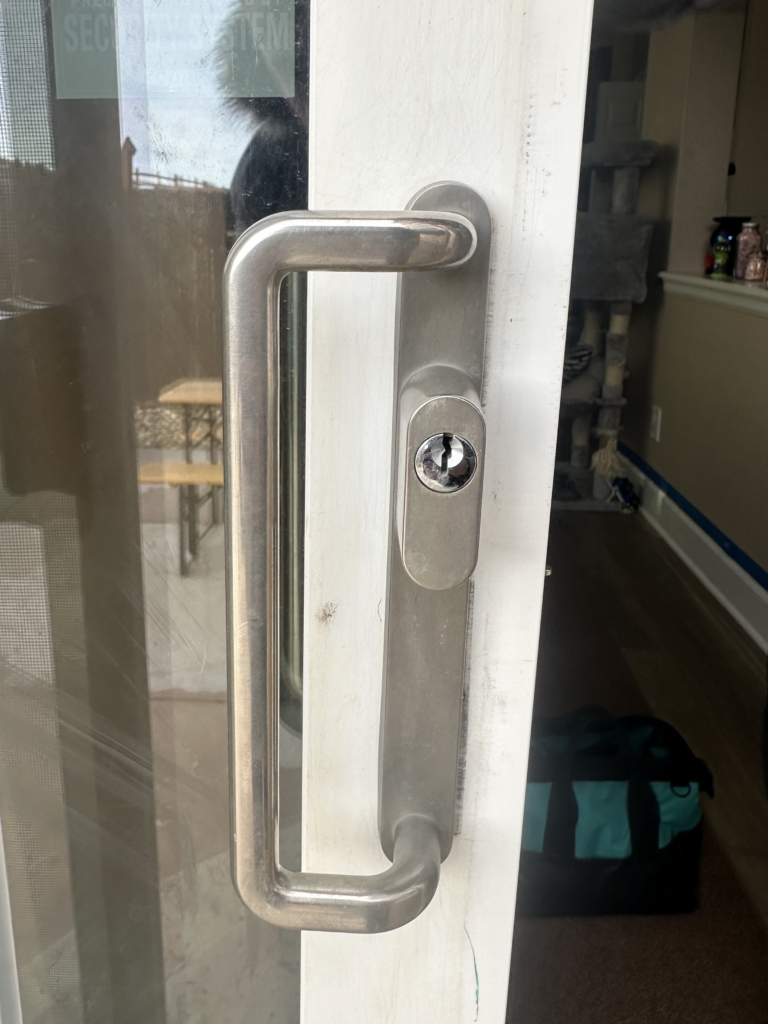
Moved into a new home and wondering who might still have a key? Securing your front door is one of the smartest first moves you can make. But before you head to the store, you face a choice: should you rekey or replace your locks? Knowing the difference is your first step to saving both time and money.
The distinction between rekeying vs replacing locks is simple. Think of replacing as getting a brand-new phone, hardware and all. Rekeying is like changing your phone number—a locksmith alters the lock’s internal pins so the old keys no longer work. In practice, the typical locksmith cost to change locks by rekeying is $50-$100, while a new lock from the hardware store often costs just $30-$70.
For most homeowners, the answer is clear. If you want a fast, guaranteed security upgrade you can handle yourself, replacing the whole lock is the easiest and most common DIY approach. We’ll show you how to get it done in under 30 minutes with just one tool.
The 2-Minute Prep: How to Measure for a Perfect-Fit Lock
To avoid that frustrating second trip to the hardware store, you need two quick measurements. The most important one is called the backset. Simply grab a tape measure and check the distance from the thin edge of the door to the exact center of the lock hole. Don’t worry about getting a weird number; it will almost always be either 2 ⅜ inches or 2 ¾ inches. Most new locks can adjust to fit either size, but knowing your number beforehand makes shopping a breeze.
While you have the tape measure out, check your door’s thickness. Just measure the edge of the door from the interior side to the exterior side. Most modern doors are 1 ¾ inches thick, which is the standard that almost all new deadbolts and knobs are designed to fit.
With these two simple numbers written down, you have everything you need to walk into the store and buy a replacement lock with complete confidence. You’re guaranteed to get the right one on the first try.
Your Toolkit: The Only 2 Tools You’ll Need
Good news—you don’t need a toolbox full of complicated gear for this job. You can install a new door lock yourself with just two basic items:
- A Phillips Head Screwdriver: This is the standard screwdriver with the star- or cross-shaped tip.
- Your Tape Measure: The same one you just used for measuring the door.
That’s really it. Before you start, grab a small bowl or cup to keep the screws in so they don’t get lost. With your new lock and these tools ready, you’re all set.
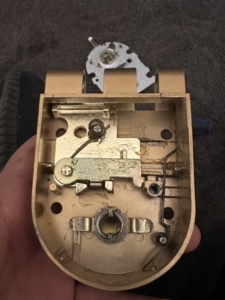
Step 1: How to Remove Your Old Lock in Under 5 Minutes
Let’s get started on the inside of your door. You should see two visible screws on the interior part of the deadbolt. Take your Phillips head screwdriver and turn these screws to the left (counter-clockwise) to loosen them. Once they are completely unthreaded, place them in that small bowl you have handy so they don’t get lost.
With the screws gone, the lock is ready to come apart. Gently wiggle the interior and exterior sides of the lock and pull them straight away from the door. The two halves will separate, leaving you with a clean, empty hole. Don’t be surprised if one piece falls away as you pull—just be ready to catch both sides.
The only piece left is the bolt itself, which slides into the edge of the door. Look at the door’s narrow edge and you’ll find a small plate held in by two more screws. Remove these last two screws, and the entire bolt mechanism will slide right out. See? The hard part is already over. You’re now looking at a blank canvas, ready for the new lock.
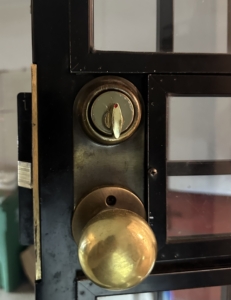
Step 2: Installing the New Lock Without the Headaches
Grab the new bolt that came in the box. You’ll notice it’s likely stamped with the word “UP” on one side—this is the single most important detail for a smooth installation. Slide the new bolt into the opening on the edge of your door, making sure that “UP” side is facing, you guessed it, up. Getting this right prevents the lock from jamming down the road. Once it’s in, secure it with the two small screws provided.
Now for the main event. Take the outside part of the lock (the piece with the keyhole) and slide its long, flat connecting bar through the center hole of the bolt you just installed. The process for replacing a front door lock is the same whether it’s a standard deadbolt or you’re installing a smart lock on an existing door. With the exterior half held in place, align the interior half on the other side, making sure the connecting bar fits into its matching slot.
Here’s the trick to avoiding frustration: insert the two long connecting screws and tighten them with your fingers until they are just snug. Don’t crank them down yet. This leaves a little wiggle room so you can make sure everything is straight and perfectly aligned. Once it looks good, go ahead and tighten the screws firmly with your screwdriver. The hard work is done, and you’re ready to make sure it all works perfectly.
Rekey locks
The Final Check: Testing Your Work to Guarantee It’s Secure
Before you close the door, let’s do a quick function check. With the door still open, use the key from the outside and the thumb-turn from the inside to lock and unlock the deadbolt several times. The bolt should slide back and forth smoothly, with no grinding, sticking, or hesitation. This confirms that the lock mechanism itself is working perfectly. Feeling that smooth turn is the first sign of a job well done.
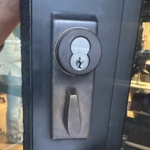
Now, try locking it with the door fully closed. If the bolt slides home without any trouble, you can officially celebrate. However, it’s common for the bolt to bump against the door frame instead of sliding in. This isn’t a failure; it just means the alignment is slightly off. The metal piece on your door frame, called the strike plate, simply needs a tiny adjustment to match your new lock.
The fix is usually simple. For the easiest solution, you can often just unscrew the new strike plate and reinstall the old one, since you know it already lines up. If you’re using one of the new matching door knob and deadbolt sets and want everything to look uniform, just slightly loosen the screws on the new strike plate and nudge it into the perfect position before tightening it down for good.
You Did It! How This 30-Minute Job Boosts Your Home Security
Take a step back and admire your handiwork. That new lock is more than just shiny hardware; it’s peace of mind on your front door. Just minutes ago, you might have been unsure where to start. Now, you have the absolute certainty that you control every single key to your home. You’ve successfully upgraded your home security and taken a powerful step in protecting what matters most.
Beyond the security, think about the savings. While calling a locksmith to replace a lock can run from $100 to $250, you did it for just the price of the parts. This success is more than a one-time fix; you’ve proven you have the confidence and skill to handle home projects yourself.


Leave a Reply
Want to join the discussion?Feel free to contribute!